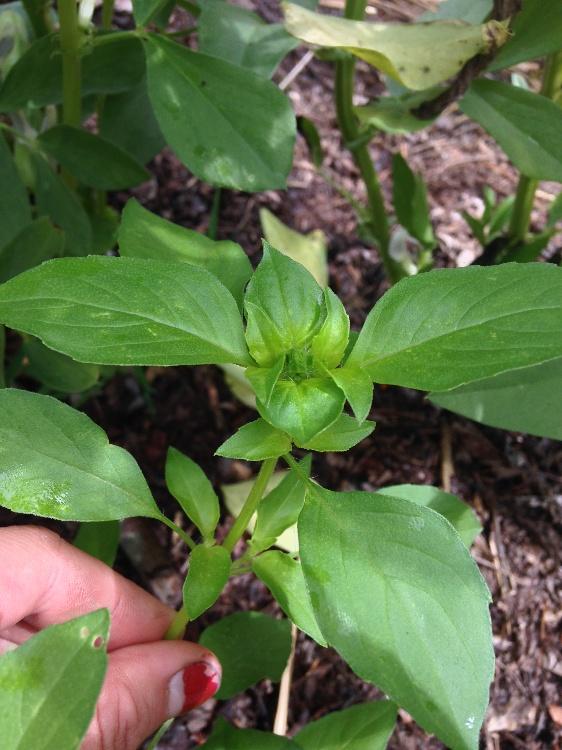
If you made a list of all the wonderful vegetables you can grow, tomatoes would surely find themselves a place near the top of the list. Unfortunately, they would also fall close to the top on a list of plants that need lots of care and love while growing.
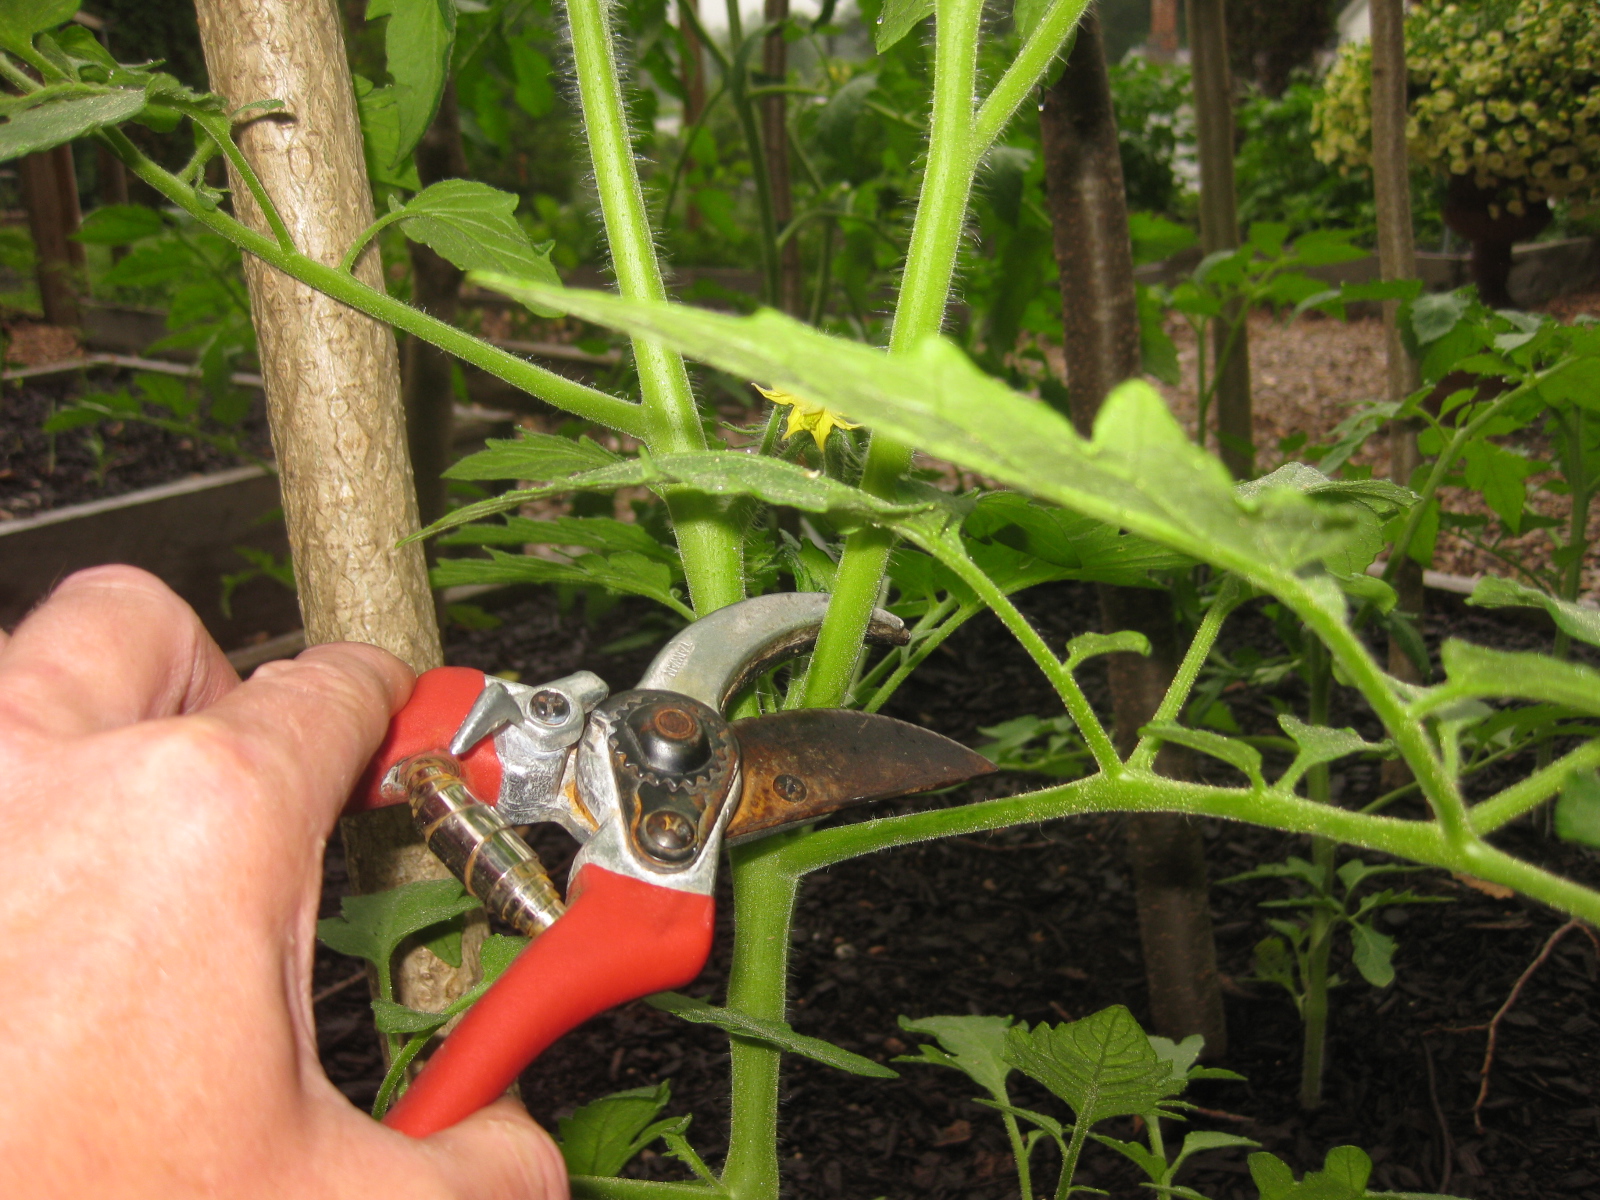
Given their vining structure, tomato plants can quickly become a mess if left to fend for themselves. Lying on the ground can lead to disease, rotting fruits, and pesky pests eating your tomatoes. Luckily, there's an easy fix - trellising!
This simple process helps your plants stand up straight while they grow, making them healthier and more manageable. Here are three simple ways to trellis tomato plants...

1. The first method is simply to use a stake to prop the plant up. Any t-post, wooden stake, or tall bamboo stalk will work - so long as it's sturdy!
To use this method, drive your stake into the ground far enough down that it feels steady when you lightly push it. Then loosely tie the tomato to the stake. While you want the tomato to be held sturdily up, the ties should also be loose enough that while the tomatoes continue to grow, they aren't constricted by the string.
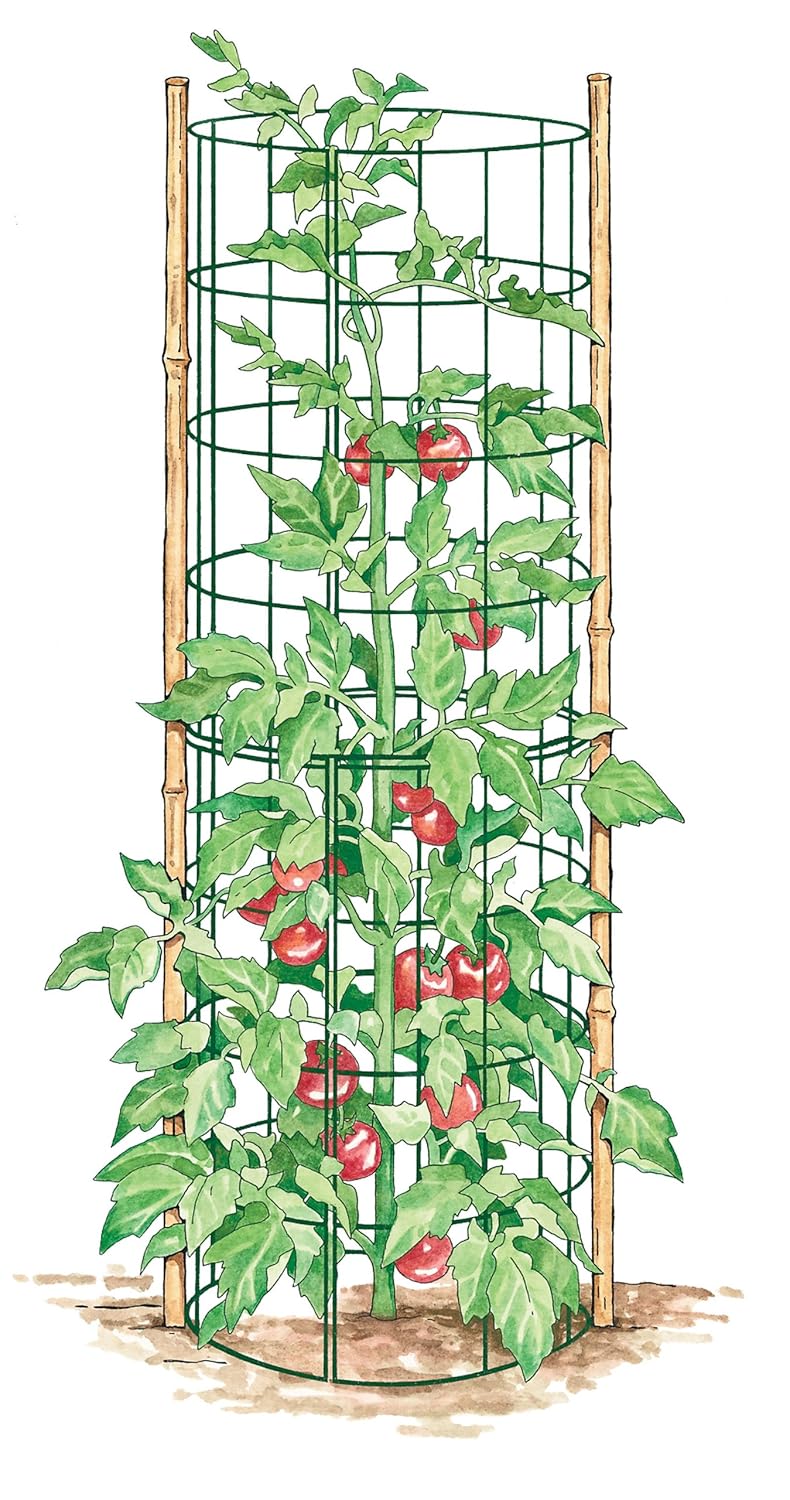
2. The second option is to use a tomato cage. These cages come in many shapes and sizes, but they all serve the same purpose. They contain your plant!
The upside of a tomato cage is that by keeping your plant contained, it makes it far more manageable, and can also help avoid the spreading of disease by preventing plants from touching each other.
The downside is that often cages are small, and can make harvesting more difficult.
To use this method, put the cage around your tomato when it's still young, taking care to get all branches inside the cage. Push the cage into the ground until it feels sturdy, or if it doesn't have legs, use a stake or two to secure the cage in place.
Given their vining structure, tomato plants can quickly become a mess if left to fend for themselves. Lying on the ground can lead to disease, rotting fruits, and pesky pests eating your tomatoes. Luckily, there's an easy fix - trellising!
This simple process helps your plants stand up straight while they grow, making them healthier and more manageable. Here are three simple ways to trellis tomato plants...
1. The first method is simply to use a stake to prop the plant up. Any t-post, wooden stake, or tall bamboo stalk will work - so long as it's sturdy!
To use this method, drive your stake into the ground far enough down that it feels steady when you lightly push it. Then loosely tie the tomato to the stake. While you want the tomato to be held sturdily up, the ties should also be loose enough that while the tomatoes continue to grow, they aren't constricted by the string.
2. The second option is to use a tomato cage. These cages come in many shapes and sizes, but they all serve the same purpose. They contain your plant!
The upside of a tomato cage is that by keeping your plant contained, it makes it far more manageable, and can also help avoid the spreading of disease by preventing plants from touching each other.
The downside is that often cages are small, and can make harvesting more difficult.
To use this method, put the cage around your tomato when it's still young, taking care to get all branches inside the cage. Push the cage into the ground until it feels sturdy, or if it doesn't have legs, use a stake or two to secure the cage in place.
3. The third option is called a Florida weave, and it involves both stakes and twine. With this method, stakes are placed at the end of rows, and in between every 2 to 3 plants. Then, as the plants grow, twine is woven back and forth between the tomatoes, creating a structure to hold them upright and in place.
The upside of this method is that plants are directly held on both sides by twine, meaning they have ample support. It's also helpful to be able to adjust the twine accordingly as your plants grow.
The downside is that it requires a fair amount of attention to maintain. New twine needs to be woven on at least once a week to keep tomatoes well trellised, which takes time and effort.
While we've found that these three ways to trellis are tried and true, there are many other methods as well! The bottom line, however, is that regardless of which trellising method you choose, your tomatoes will thank you for it!